Create and Manage Rules for Active Directory
Create a Rule
- Start the console.
- Expand the Cygna Auditing & Security Suite node.
- Expand the Rules node.
-
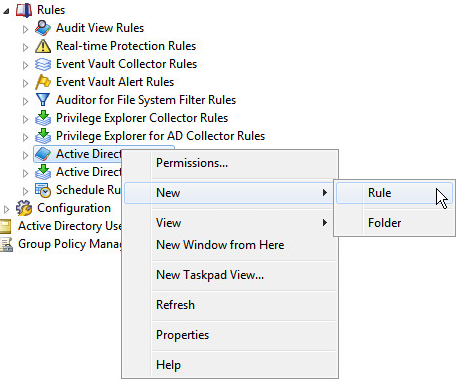
Right-click Active Directory Rules, and then select New > Rule.
- After you enter your options, click OK.
The New Active Directory Rule dialog box opens. The options are outlined on the following pages.
Triggers Page
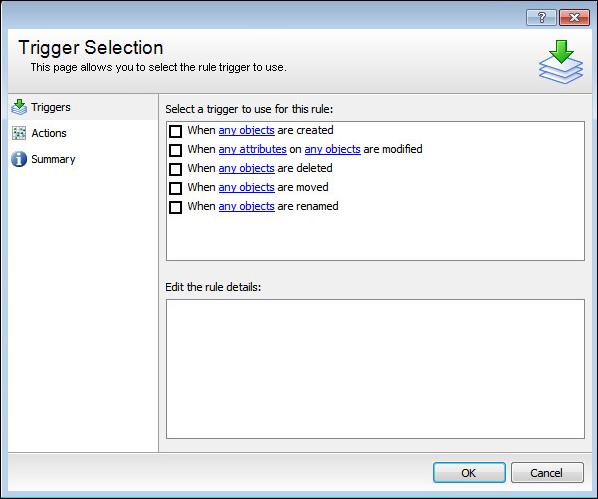
- On the Triggers page, choose the events to protect.
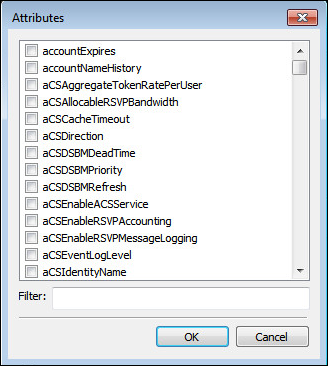
- In the bottom pane, click the blue link to open a dialog box to configure conditions.
For Attributes links, you will see the dialog box shown.
For Objects links, the dialog box shown opens.

Note: You can only choose one trigger per rule.
Actions Page
You can select more than one action for each rule. The actions you select are displayed in the Edit the rule details section.
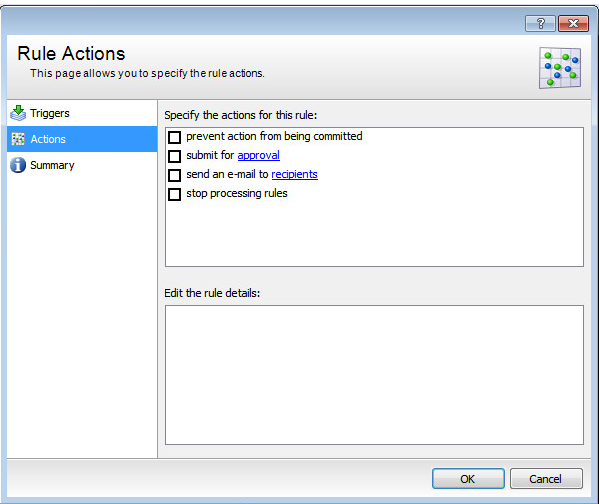
- On the Actions page, select the action that occurs when the trigger occurs:
- Prevent action from being committed: Select to stop the action in progress.
- Submit for approval: Click the approval link to open the Approval Configuration dialog box. Go through steps 2–7.
- Send an e-mail to recipients: Send email notifications when the rule is triggered. Go through steps 8–9.
- Stop processing rules: Select to stop any further rules from processing.
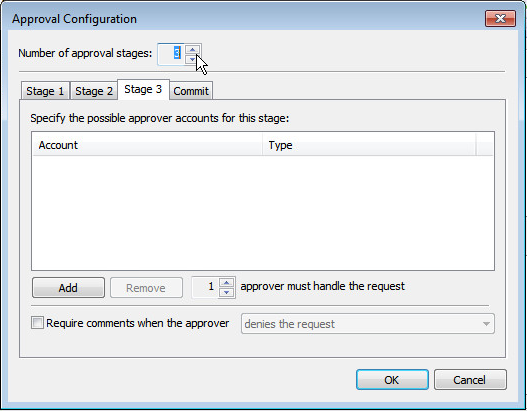
- Click the approval link to configure an approval process in response to the trigger.
- Select the number of stages in the approval process. Stage tabs are added as you increase the number of stages. You can select up to 5 stages. The default value is 1.
-
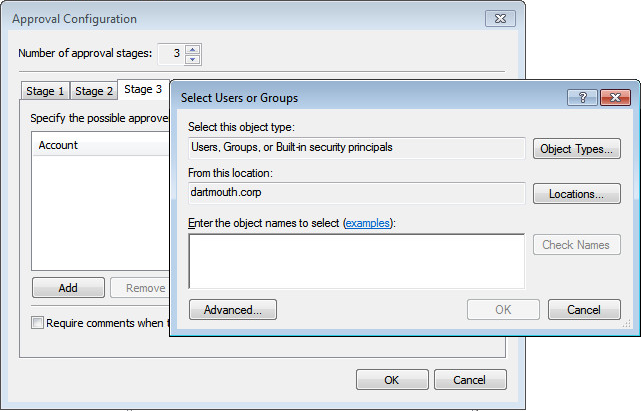
Click Add to select the accounts that will be the approvers. Click OK.
- In the Approver must handle the request box, select the number of people you want to approve the activity. The maximum number of approvers is three.
- Select the Require comments when the approver check box, and then select when comments are required:
- Denies the request
- Approves the request
- Approves or denies the request
- On the Commit tab, set details on when to activate the request after it is approved: immediately or a specific time.
- If you select the action Send an e-mail to recipients, click the recipients link to open the E-mail Recipients dialog box.
- Enter the email accounts, and then click OK.
- Go to the Summary page.
- Select the Run a script check box to run a VB script after the trigger occurs.
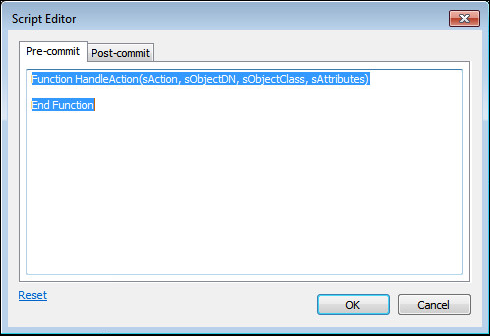
- Click the script link.
- Click the Pre-commit or Post-commit tab in the Script Editor.
- Type your script and click OK.
Summary Page
-
On the Summary page, provide a name and a description (optional) for the rule.
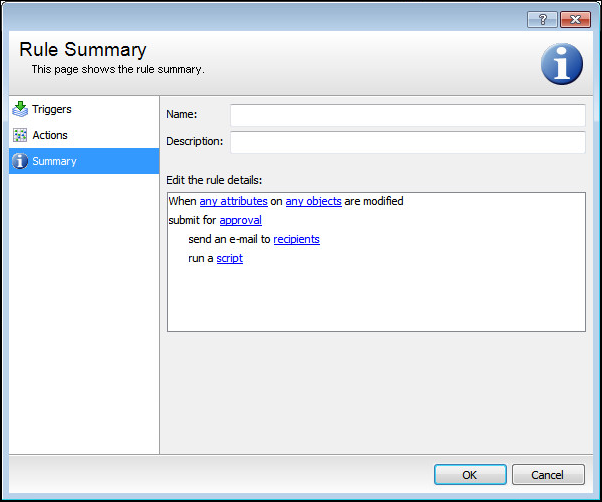
- Click OK.