Create Custom Reports
The custom report is based on the settings from the audit view you created. Be sure your report server is already configured to be used with Auditor. For more information, please see Deploy Reports.
Set the Layout
You can customize the look of your reports, choosing color palettes, report logo, and report output sizes.
To set up the layout for a report:
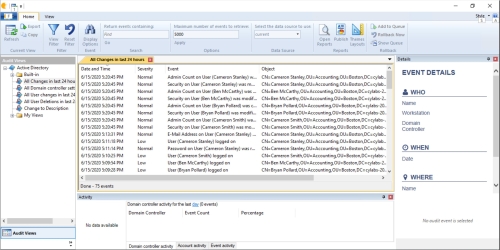
- Open the Audit Viewer.
- Select an Audit View and click Layout Themes.
- Click the Themes tab.
- Click Create Theme link.
- On the Images page, click Add Custom Image to add your report logo. The maximum image size is 255x65 pixels.
- On the Colors page, select the color palette for your report display.
- Click Show Preview to see the changes in a demo report. You can have the Preview page open at the same time as you select colors from the palette to see the changes dynamically.
- Click the Layouts tab.
- Click the Create Layout link.
- On the General page, enter a name and description.
- On the Report Size page, click the Web Display tab to set online viewing properties.
- Select a screen size from the list.
- Alternatively, click the Show Advanced Options to set a custom size width and height for your display.
- Select the Print Display tab to set print viewing properties.
- On the Columns page, select the columns that you want to display in the report.
Publish the Report
- Select the Audit View and click Publish.
- The Custom SSRS Report Publisher dialog box opens.
- On the General page, enter a report name and description.
- Select the Sync with Audit View check box. Synchronize the audit view and the custom report to republish the report when the audit view data changes.
- Select a layout and theme if you created custom settings for the report properties. For more information, please see Set the Layout.
- On the Analytics page, select the graph data you want to see in the report.
- On the Overview page, select the report server.
- Click the Change Folder link to save the report to an alternate location.
- Select the Publish print report check box to publish the report to SSRS using the print sizes selected on the Layout page. Click the Change Folder link to set another location in SSRS (if needed).
- Click Publish.
- A message is displayed indicating the report is generated and available in SSRS.
- After the report is generated, click Open to view the report results in SSRS.

