Generating Reports
To generate a report:
Note: The procedure below applies to the Active Directory source. Report generation may vary slightly for other sources.
- On the home page, pick a source.
- On the source landing page, select Reports.
- Select a preset report from the list or go to the Custom Reports tab to see reports you created. Once you specify the report, Cygna Auditor will automatically run it.
-
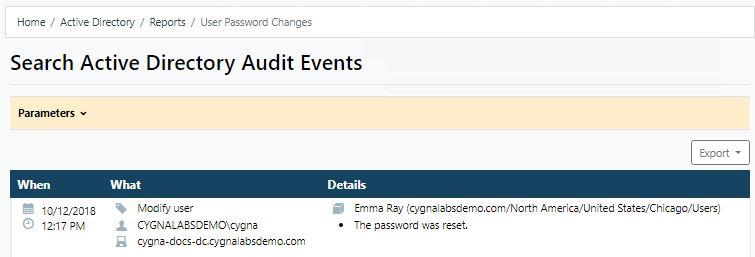
Review the audit data. By default, the report shows data for the last 24 hours.
- Click Parameters if you want to fine-tune your report results, for example, to filter out some users or modify a timeframe. Make sure to use full names as filters are designed to search for exact entries (e.g., cygnalabsdemo.com\ian.rush instead of ian.rush). Click Run to update the results.
The example below applies to the User password changes report. As you can see, CYGNALABSDEMO\cygna has reset password for the user Emma Ray.
If compliance regulations or in-house security procedures require you to keep reports, click Export to download report data as a pdf or xml document.
Note: You might see several records with events that occurred at the same time up to seconds—for example "create user" with subsequent "modify user". Typically they represent a single, one-time action. The reason why Cygna Auditor displays it as several records is that Windows actually generates several events in response to your actions.
For more information on interpreting the data, refer to Reading Search Results.
