Tutorial: AD Rollback
Follow this tutorial to learn how to roll back unwanted AD changes up to specific attributes.
Before You Begin
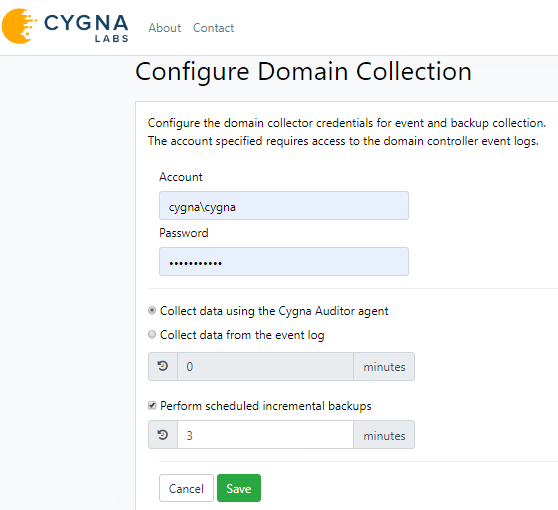
Make sure you have configured agent-based Active Directory auditing and set backup interval to "3" minutes. Also, set up SMTP settings under Configuration / System / Email.
Test Changes
Perform the following test actions that represent a typical AD administrator’s workflow. Wait at least 3 minutes between each step.
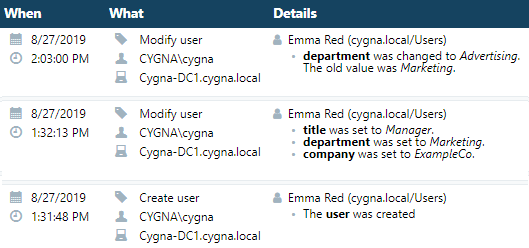
- Create a user, e.g. Emma Red.
- Update user properties, e.g., set user's job title to "Manager", department to "Marketing", and company to "ExampleCo".
- Update user properties — change the department to "Advertising".
If you navigate to Home / Active Directory / Search, you will see the following changes:
Roll Back Changes
Let's say, the user "Emma Red" was marked as belonging to Advertising department by mistake. Use Cygna Auditor's Rollback feature to revert this change.
-
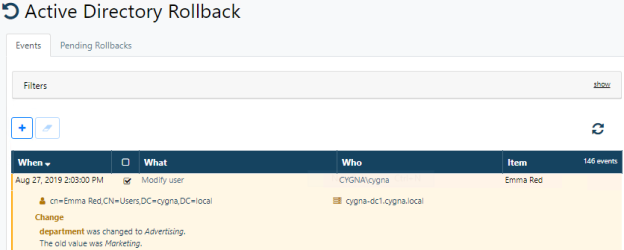
Go to Home / Active Directory / Recovery and see changes on the Events tab.
-
Locate the change related to Emma Red and select it.
- Click
 . You will see a hint that one event is queued for rollback.
 - Click
 .
. - In the Configure Rollback Queue wizard, review the items you are about to rollback and click Next.
-
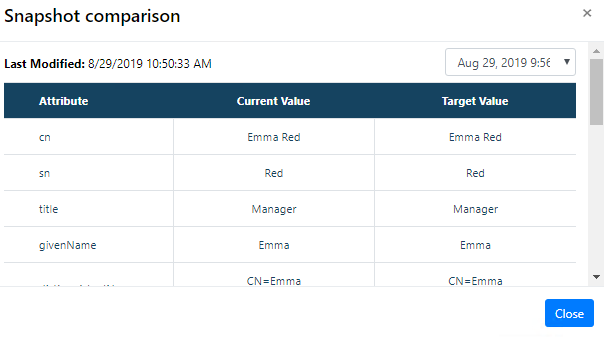
Select the latest snapshot — Cygna Auditor will rollback changes and revert objects to the state they were at the moment of the snapshot creation.

- On the next step, provide administrator credentials and verify them.
- Provide an email address if you want to send a rollback status email.

Check the Rollback Results
You will get a notification email saying that the change has been reverted.
Now, you can go to Active Directory Users and Computers and check the user properties there. The user is disabled by default. Check user properties to find that user's department is set to "Marketing".

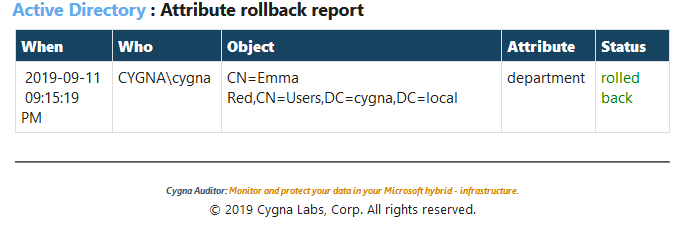
Then navigate to Cygna Auditor / Home / Global Reporting / Global Search and inspect the changes.
